


Recipe: Raspberry Jam, with (optional) Rose Geranium
A small batch of classic raspberry jam with a tiny twist

This is a jam recipe that will make a reasonable amount of jam, using a reasonable number of raspberries – for example, the amount you might expect to harvest from your backyard berry patch. It does not include canning instructions, which are outside of today’s purview, but it does include detailed instructions how to make a pectin-free jam that is rich in raspberry flavor.
Yield: about 2 cups of cooked jam
Ingredients
370 grams raspberries (about 2 half-pints raspberries or about 3 cups)
295 grams granulated sugar
A small bunch of rose geranium, approximately 8 large leaves (optional)
1 lemon; good to have on hand to balance acidity, but raspberry jam doesn’t always need it
In a heavy-bottomed saucepan (3-4 quarts is a good size for this recipe), combine the raspberries and sugar. Using a potato masher, fork, or sturdy whisk, mash the berries so that their liquid starts to be released. Continue mashing & stirring the berries with the sugar until all of the sugar is hydrated with berry juice and there are no dry/white spots of sugar remaining.
Turn on the stove to medium-high heat and bring the jam to a boil, stirring frequently with a heat-resistant spatula until the sugar granules dissolve and the mixture is shiny.
If using, add in the rose geranium and use the spatula to gently submerge it. Turn the heat to high and bring to a boil.
Cooking jam goes through several stages. At first, it will boil up rapidly and voluminously. At this stage, use the spatula to scrape the bottom of the pan every 5-10 seconds, but otherwise let the jam boil undisturbed. Eventually, the jam will deflate, become thicker and glossy, and foam will start to appear around the edges of the pan.
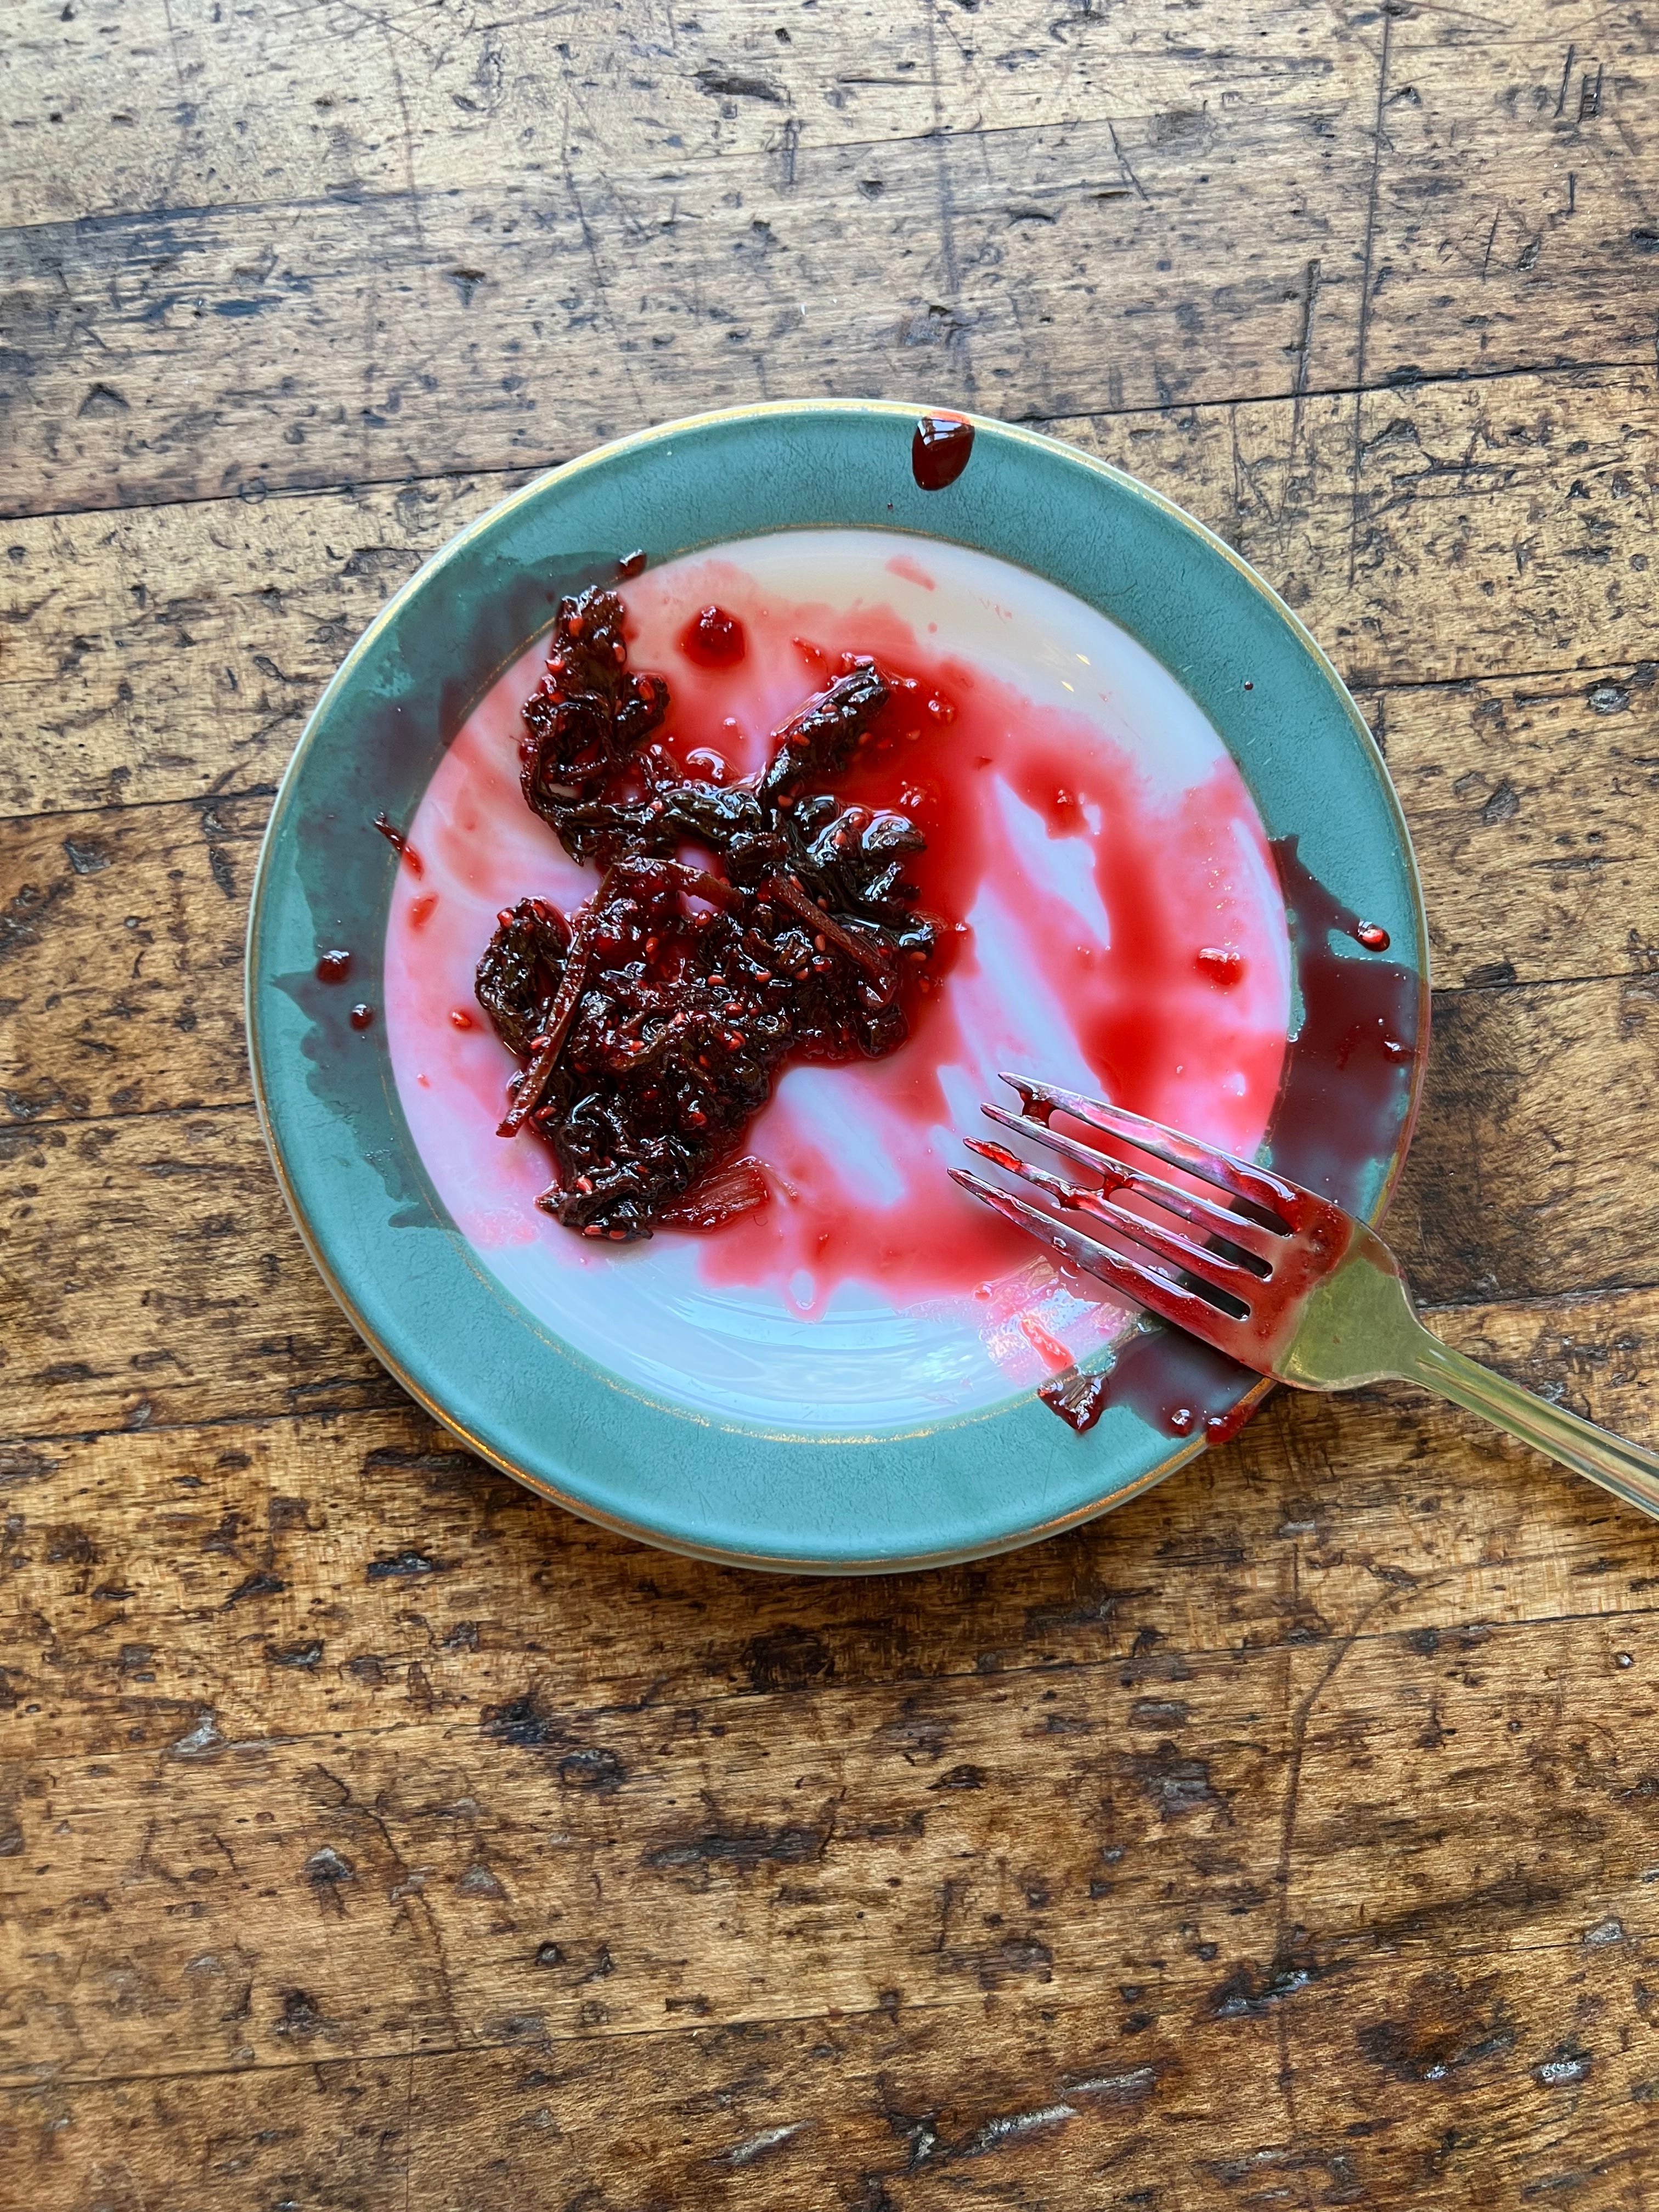
At this point, it’s time to start checking for set. Use the freezer test, described in the notes below. While you wait, remove all of the rose geranium leaves and taste the jam for acidity. It should taste bright and strongly of raspberry. If it tastes too sweet, add lemon juice one teaspoon at a time, until the flavor is balanced. Once you’re happy with the set, transfer the jam to a clean glass container and store in the fridge for several months, or the freezer for up to one year.
Notes on this recipe
Freezer Test: The best (and most intuitive) way to check the set of your jams and preserves is the freezer test. When the jam starts to look like it’s getting thick, place a teaspoon full of jam onto a plate and place it in the freezer for several minutes. Make sure to turn off the heat while the tester cools so you don’t risk overcooking the jam. Once the jam in the freezer is cool (but not frozen!), take it out: look at it, touch it, taste it. If it’s the consistency that you’d like your jam to be, it’s done. If it’s too runny, bring back to a boil, keep cooking and check again.
When boiling jam, there’s a balance to be found between stirring enough to keep fruit from sticking/burning on the bottom of the pan and letting the jam reach a temperature where it will properly set. Every time you stir, you inevitably cool down the jam, slowing down the process. I recommend stirring in a strategic way once the jam is boiling away: instead of stirring normally, and disturbing the whole mixture, instead, simply use your heat-resistant spatula to gently scrape the bottom of the pan and lift up any fruit that is starting to stick. As you work, you’ll notice if there are hot spots, or places where the jam is especially prone to sticking and you can focus your attention there. If the jam is sticking badly or constantly, but isn’t yet set, feel free to lower the temperature slightly.
Fresh or frozen raspberries will both work well here. If it’s not raspberry season in your area, frozen berries will yield much better results than berries that were shipped in from far away. I’m usually so overwhelmed with fruit in the height of summer that I end up freezing a lot of my berries and preserve them later.
